Hi everyone! I’ve been wanting to share a little bit about my learning process recently.
After doing a lot of client work in 2018 and 19 I was feeling a bit depleted, so in an attempt to recharge I decided to tone down a little, and take some time to rethink and refine my workflow/process.
If you’re like me and spend a lot of time thinking about how to make your work look better, you’ll likely run into obstacles keeping you from putting what’s in your imagination on paper or on the screen. Things you want to understand more and get better- or more efficient at. With time you learn what works and what doesn’t. But you still get stuck in patterns and habits. I wanted to spend some time rethinking why I make certain choices in my painting process, and if I could and should make changes. I’ll be talking a bit about stylisation and using 3D in a concept art workflow and how I approach it.
(If you want to take a closer look at the paintings and experiments shown below, I uploaded some of them here)
Obstacles
To start off, I began looking at what was holding me back from improving. This came down to two main things I could directly try and solve (as opposed to things like anatomy and understanding of color, which mainly takes a lot of practice)
1. Finishing up a piece was slow and involved a lot of repainting
Whenever I was working on a piece and wanted to bring it to a finish, I would spend a lot of time painting things over and over until they worked. While it was a satisfying process at first, I wanted to make the right decisions earlier in the process and improve the foundational elements of my work.
When it comes to style, pure realism doesn’t really interest me that much. What I find most interesting are moods, stories and moments. I want to feel something when I look at art. I want to have my mind filled with ideas about what a painting could be about and what might happen in the next one. I want to be pulled into a story and world, while being able to suspend my disbelief. I love it if a piece of art can convey an emotion and tell a story that makes your mind wander.
One of my favourite ways to achieve this is with the application of lighting. I love the process of deciding what mood to go for, what colors to use. But also questions like; where can I suggest detail and what can I leave more abstract? What shapes and colors can I exaggerate to add to the effect I’m looking for. This process was always pretty slow for me. So I wanted to know how I could be more efficient and effective in explorating colors and moods, while still maintaining a level of quality.
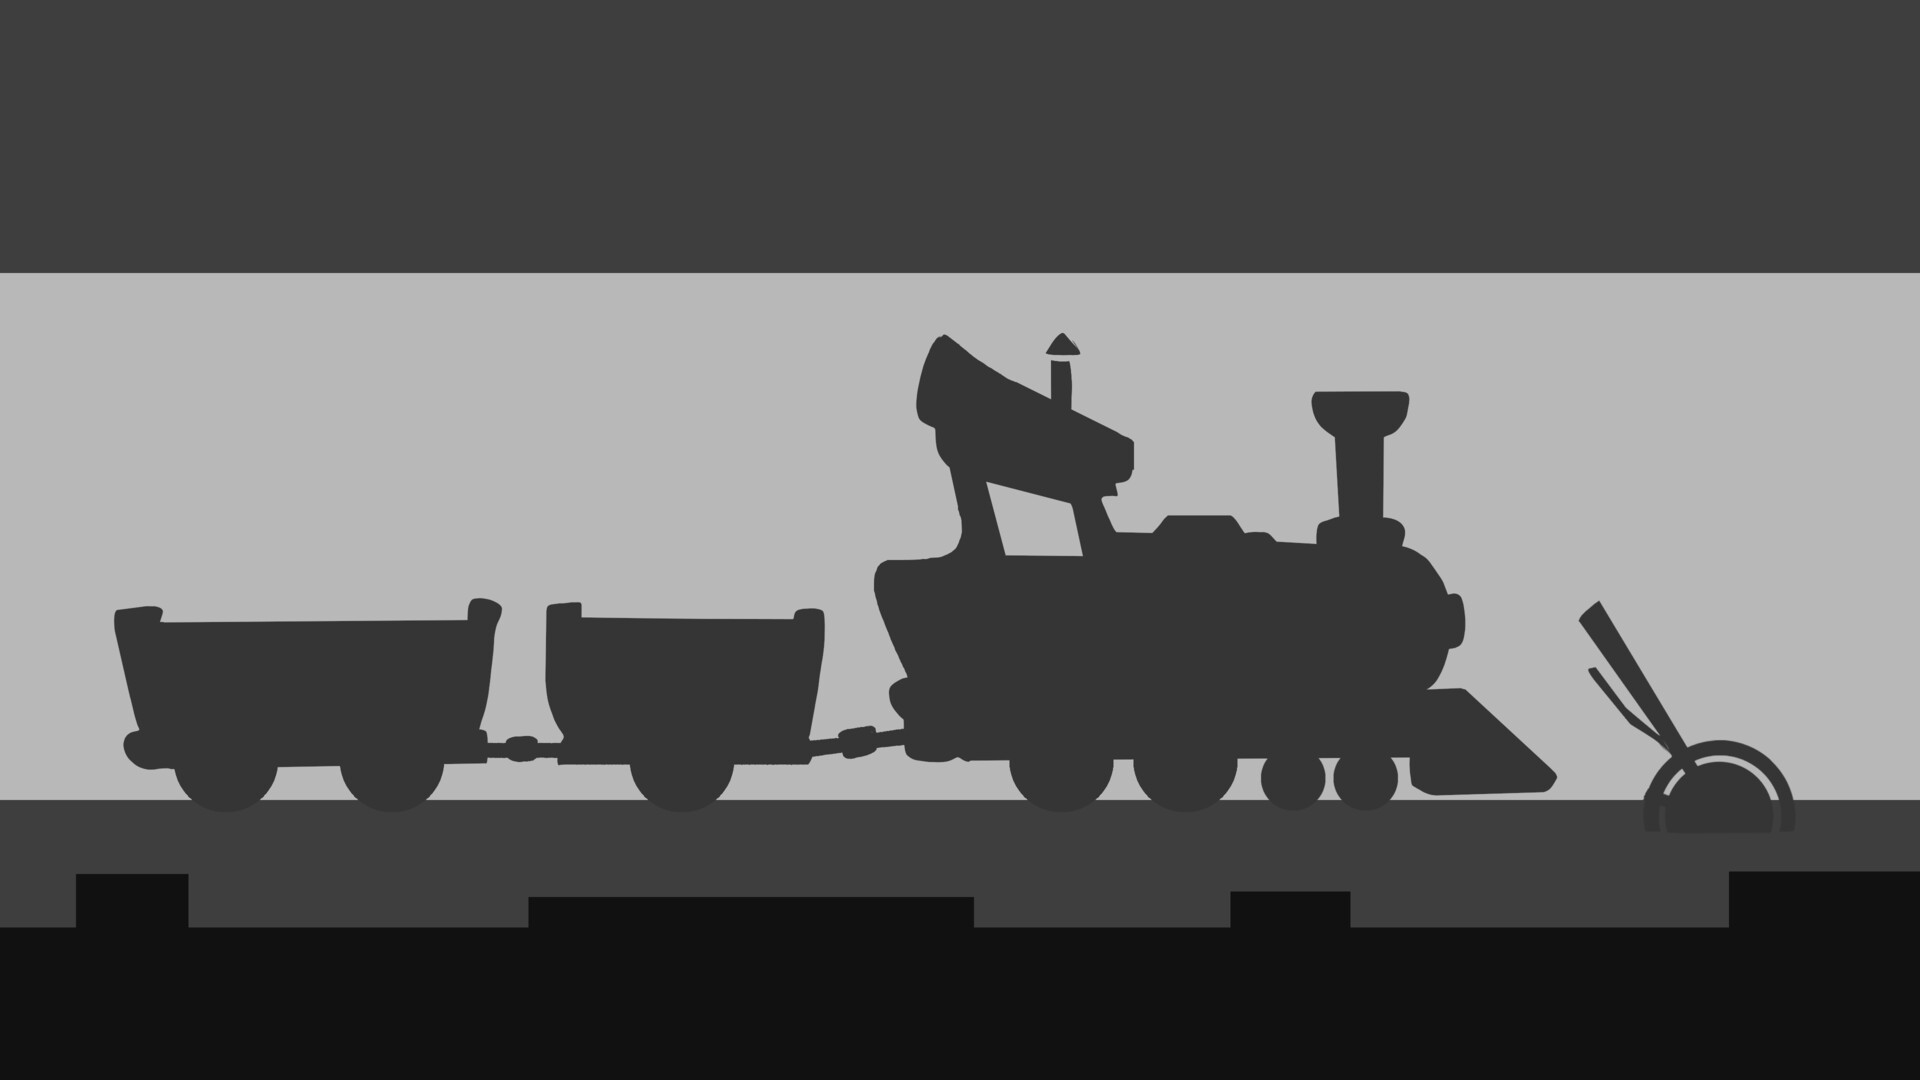
2. My 3D bases were rigid and undynamic
Ever since I’ve been using 3D in my process, things got more efficient and easier to set up than before. I had been using sketchup for a while, and with this I could quickly get information about things like shadows and perspective. As you can see that was pretty much all I needed.
I didn’t want to invest too much time in learning expansive 3D software so this was perfect for me then. After a while though, there were more and more things that were holding me back from what I wanted to do. Things like Sketchup’s very limited lighting tools and rigid modelling tools. Whenever I wanted to make dynamic or natural feeling designs or wanted to play with light sources I'd hit a dead end pretty quick.
Keeping this in mind, I started to think about where my priorities could and should lie. How can I improve my models to suit my goal, while being as efficient and smart about it as I can?
Solutions
Virtual reality sculpting
My friend Natalia Patkiewicz had been trying to convince me to give VR sculpting a go. I was hesitant at first as it was a completely new package to learn, but I gave it a go. She showed me some of the basics in Gravity sketch, as well as using Octane render as a lighting engine. After experimenting with these programs (Gravity sketch + Octane render) I realised this opened up a lot more creative options for me.
This is the first thing we did:
The simplest way to describe sculpting in VR, is that instead of working on a model on your monitor in 2D, you’re actually shaping the model in front of you. It’s like working with Lego’s or building a block tower. It’s intuitive and much more fun to work on, since you can walk around your creation and feel the world you're creating around you. You can also move geometry dynamically with your hands, instead of using a clumsy rotation and move tools. It took some work to get it incorporated in my workflow, but when it clicked, it felt like I had much more freedom to create cool and interesting designs, solving one part of my 3D problem pretty well. I'll go into this a bit more in a minute.
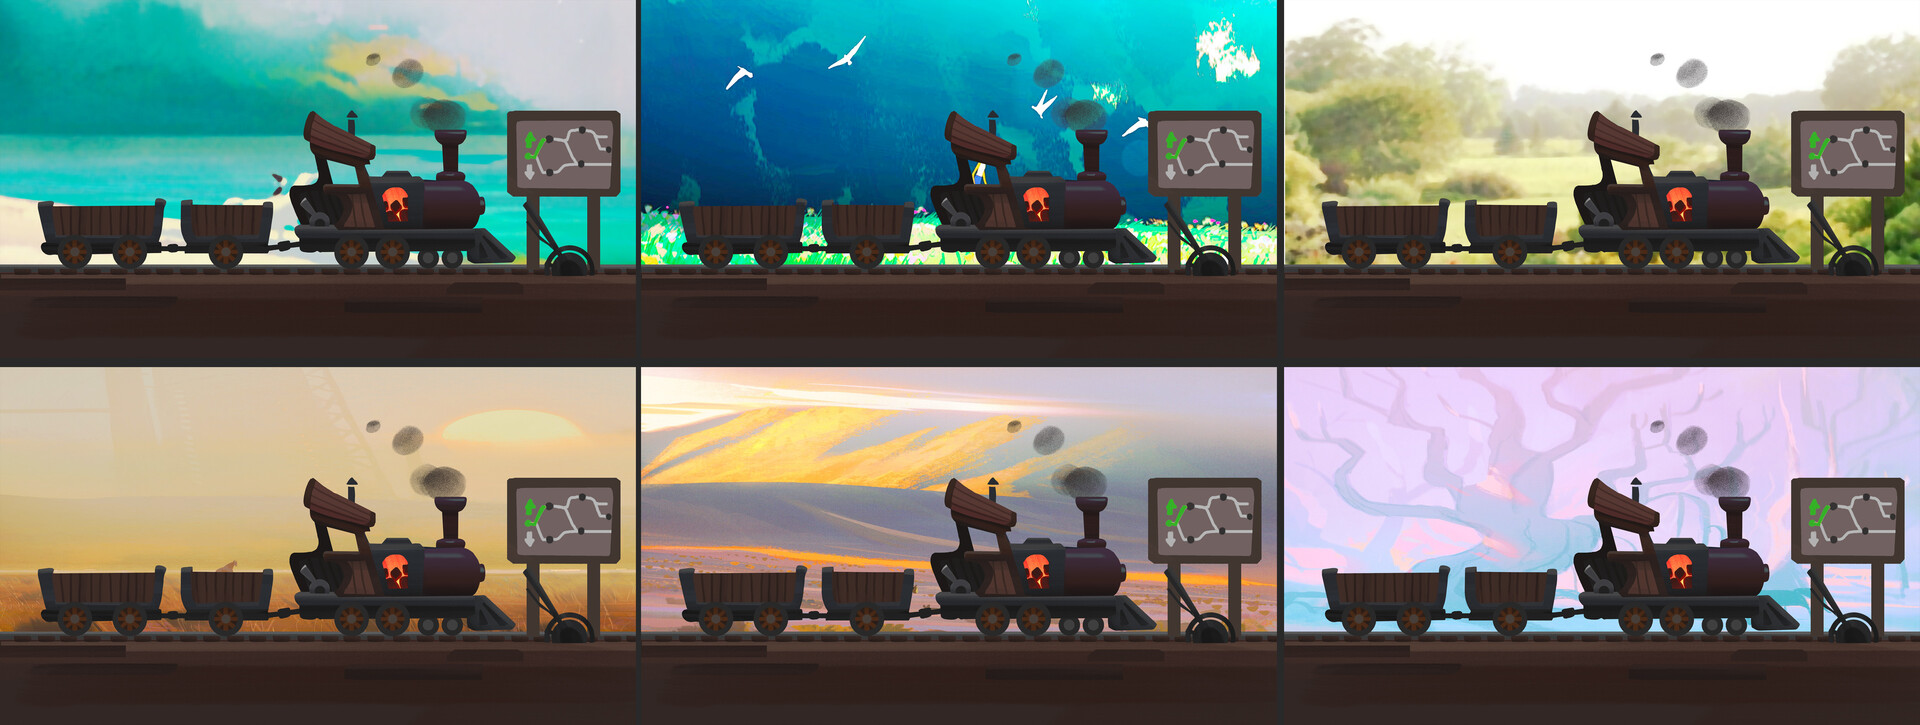
Lighting
With Octane render I could easily import a VR model, put some lights in and have a ton of information right away! I especially loved using objects as light sources and finding cool shadow shapes dynamically. If you want to know more about this method I recommend getting this tutorial from Jama Jurabaev: https://www.artstation.com/artwork/lVOzEk
How far do you go?
This was a question I’ve been discussing and thinking about ever since I started experimenting. There are SO many possibilities in using the full 3D packages. Should I dive in? Should I start using more textures, displacements, materials?
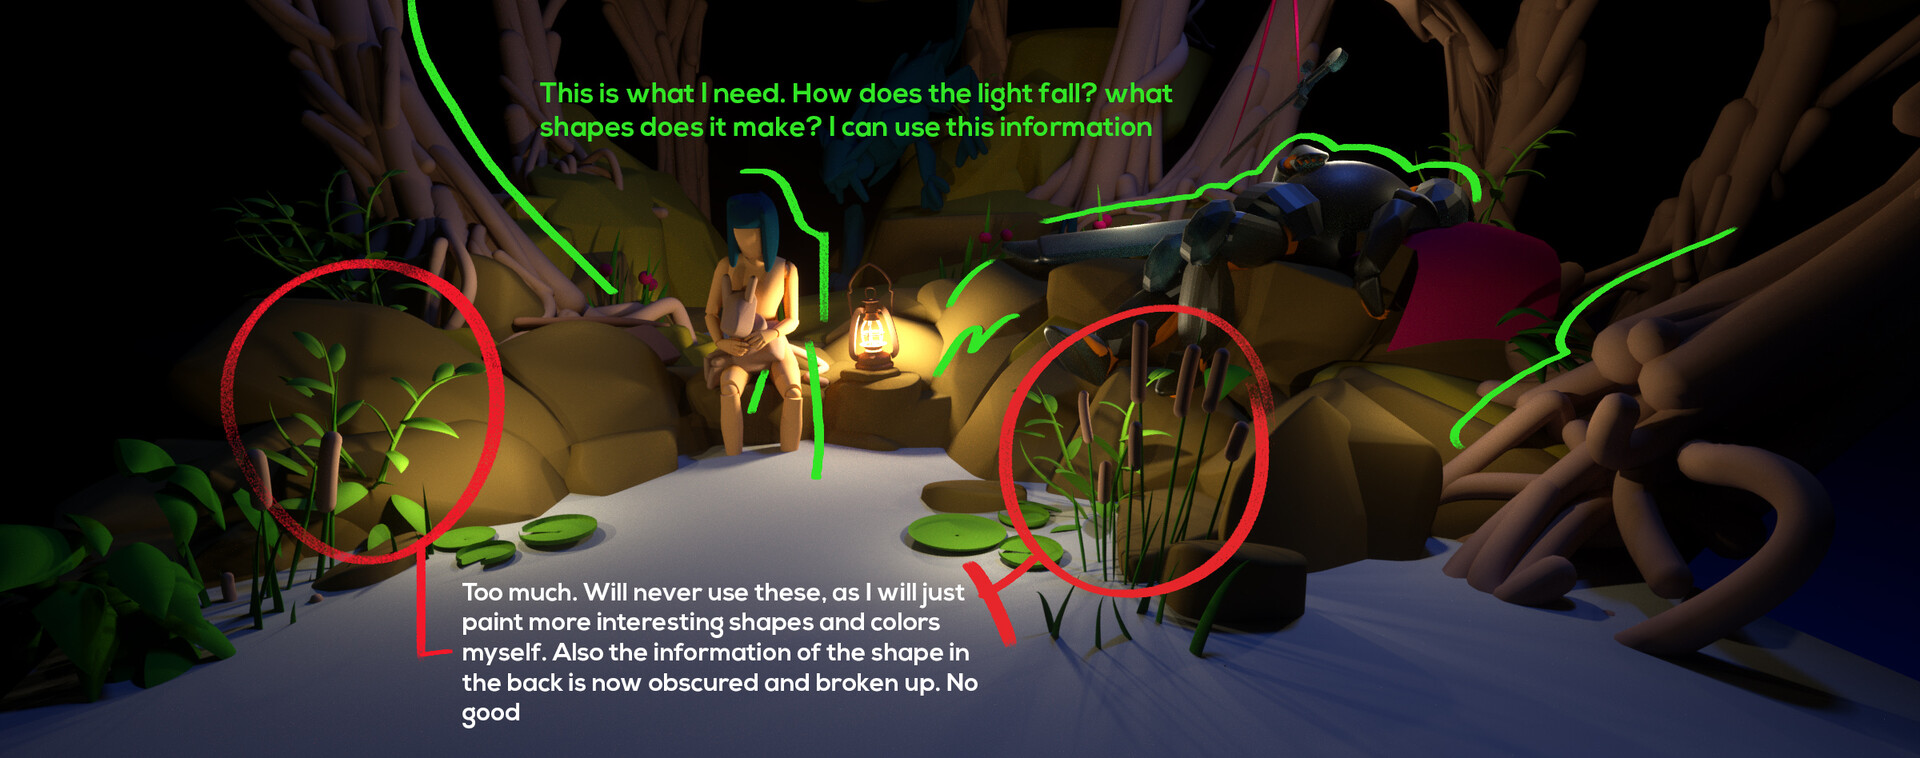
The question I then asked myself is: what kind of information do I need to achieve the result I’m looking for? What information that I didn’t have before, could I use now, without limiting me in my creative choices?
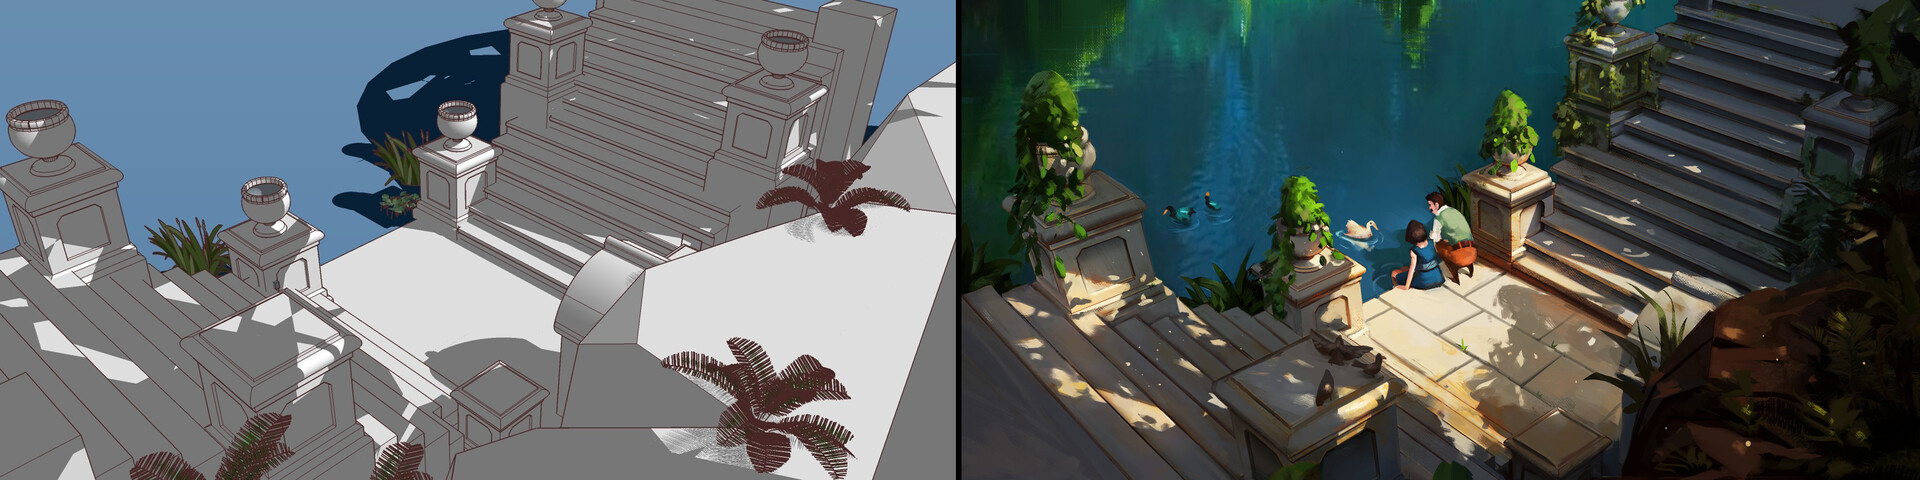
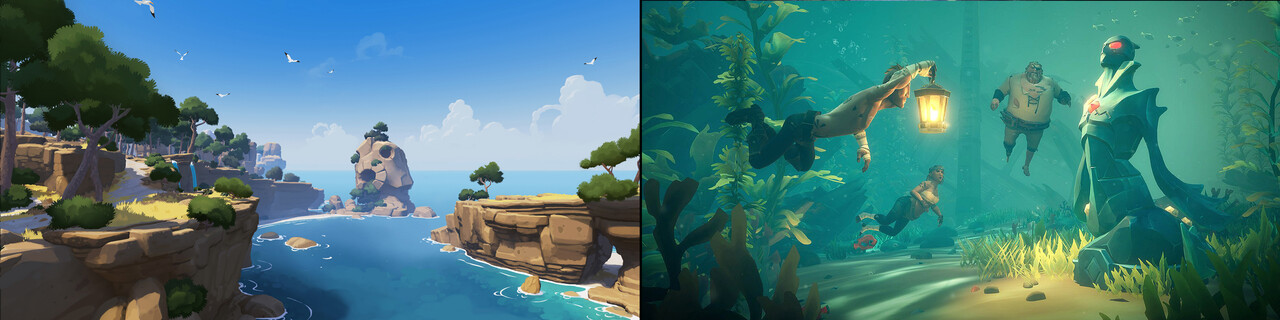
It comes down to a few things. I still want information about light and shadow. I still want information about perspective, shapes and depth, and now I can also get information on reflective surfaces, ambient occlusion, and other hard to calculate things. BUT. In the end, more complex models and renders don’t necessarily make your art better. Games like Rime, Sea of thieves and the Witness are great examples to showcase this.
In my view a painting should primarily be about the simple statement. The story, the mood, the shape language. And if you look at it that way, 3D can hold you back. If you insert 3D in the process randomly, maybe the colors you had in mind earlier are now replaced by the colors from your render. Maybe you added fancy textures and are afraid to paint over them because they look so nice and shiny. Maybe the dynamic shapes you had in mind for foliage are replaced by the shape of a model – something that was only meant to serve as a reference.
I wanted to think about these things before I started designing.
in the above experiment I was looking to find out what kind of information I needed. The parts where I let go of the details dictated by the render are now my favourite elements of the piece. (See final picture here)
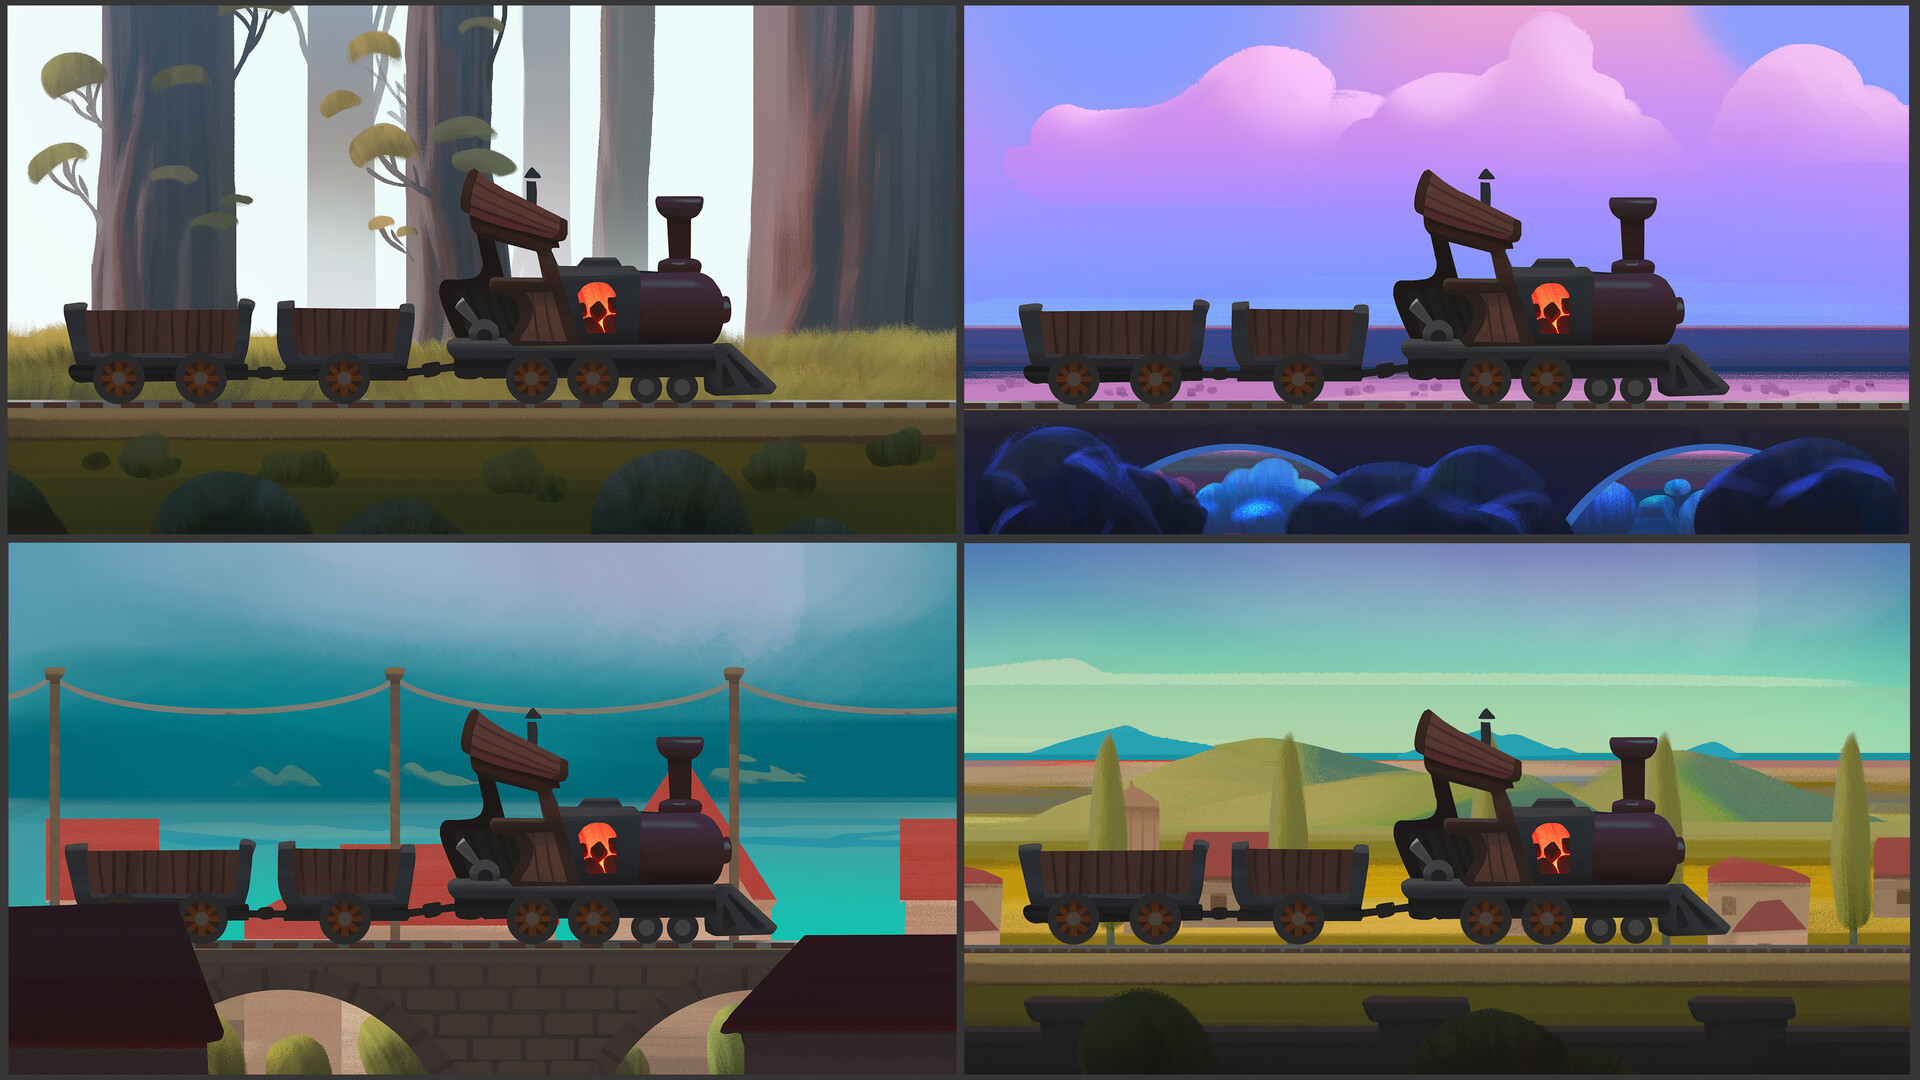
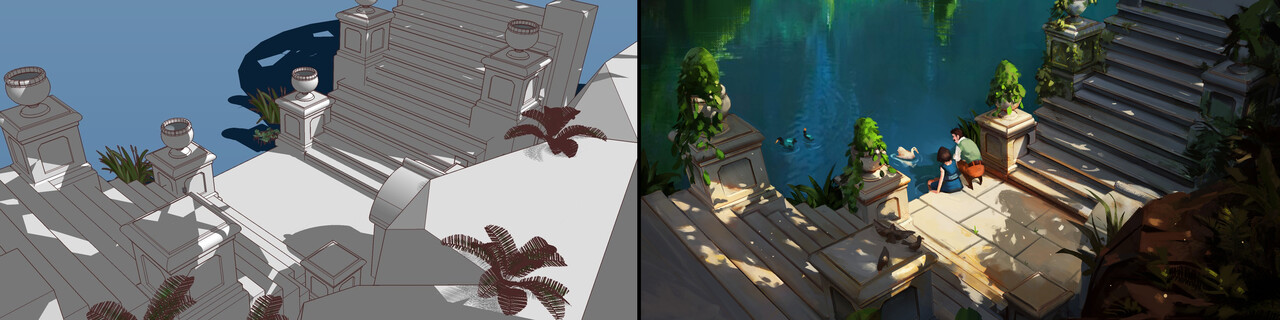
Finding a middle ground
I’ve been experimenting for a good few weeks now, and at this point in my exploration I think I have a really good feel in what I need for a scene to work. Generally I will make a relatively simple model. Reduce it to basic readable shapes and stay away from unnecessary detail. (think separate foliage, geometry that obscures other shape information etc) Then when setting up the lighting, I start using it as a base and decide up front if the colors in the render are usable or not. Then I will apply my knowledge of color and composition to take it to a more finished and balanced piece.
3D is a means to an end, and I don’t want it to limit me. I will try to understand the information provided by the render, use it as a reference, but I don’t want to let it lead me. If you want to have drama and emotion in a scene, limiting yourself to realistic light might not cut it. You want to be able to choose where to exaggerate and bend the rules, to control your values and tones- and put down focus where needed. This way I try and maintain as much control in my piece as I can, while also trying to be more efficient and more accurate with my lighting.
Downsides
So what if Gravity sketch's tools don't cut it anymore? Isn't it smarter to dive into a more comprehensive 3D package and work from there? That's a very fair argument. There are a lot of things to be said about software like Blender, Maya, etc. These are all amazing pieces of software. Packages like Gravity sketch and Octane have their limits. For example I'm still trying to figure out how to make good looking arches and specific rounded objects. Octane is finnicky with moving things around and applying materials (which you have to figure out yourself as there is no Library.)
It's not perfect, but I still prefer to approach things from the exit point of; what's my goal, and what do I need to get there? In that order. In this phase of my learning process it works very well for me.
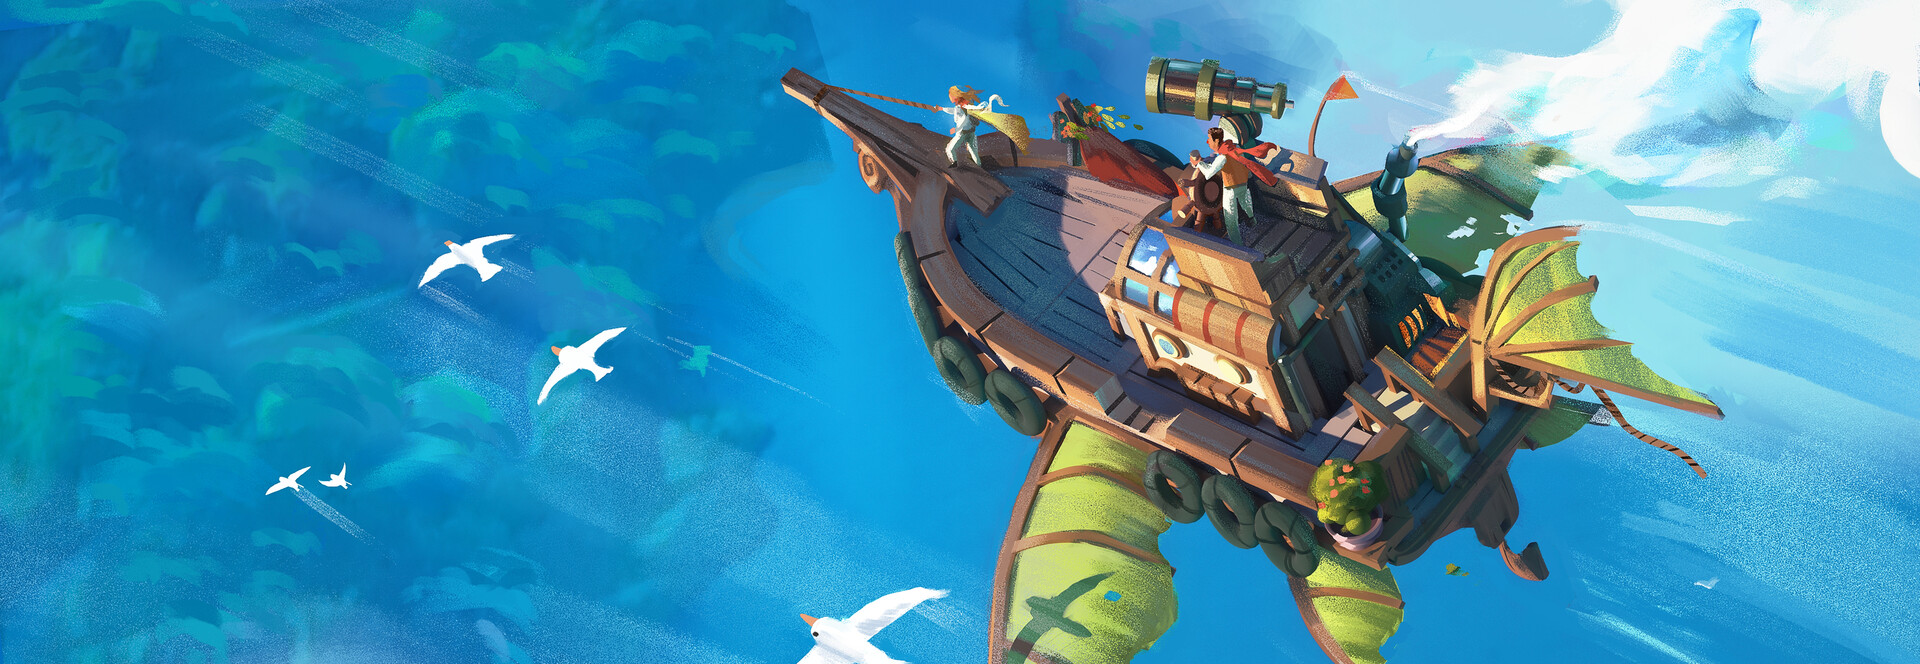
Stylisation
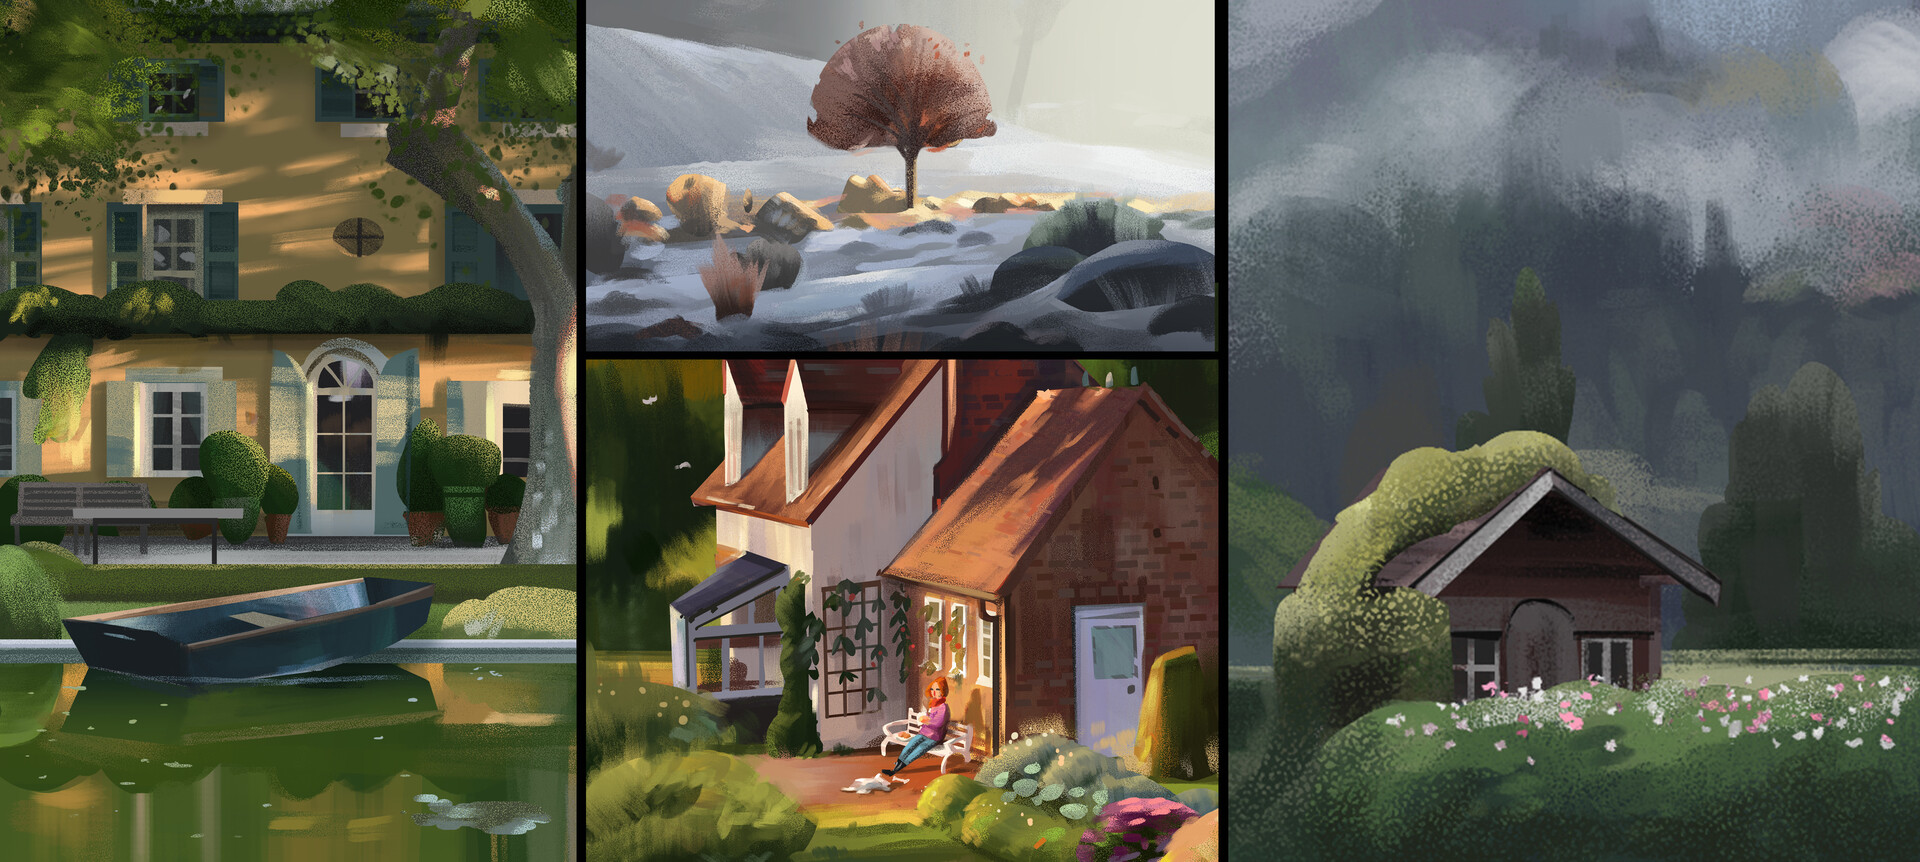
While I was experimenting with VR, my pieces were becoming more and more complex. Sometimes to the detriment of the simple statement and readability of my pieces. So in an effort to refocus trying to get back to simple readable images I also tried my hand at doing more stylized studies. Here I’m trying to be really deliberate with shapes, colors and how I put down all my brush strokes.
In doing this I hope that each will inform the other, resulting in a nice balance between both 3D and stylisation. A workflow where I always look at the bigger shapes and bigger picture first and think about the story and mood. In the end a composition is only as good as the sketch. Just textures and complex models won’t help you in making a readable picture. Similar to how using textured brushes also doesn’t add much if you don’t know what you’re doing. Work from big to small. Make sure the basic shapes are interesting, take it from there.
If you've come all this way, Thanks for reading! I hope it was interesting
Bonus: Quill and Medium
A few people recommended I try Quill and Oculus Medium too as VR sculpting tools. I tried both for a short time.
Quill is an amazing tool for painting in 3D. I found that it was perfect for if you want to do the painting part completely in VR. It’s also shockingly easy to animate something using this tool. However I found it lacking in terms of speed in setting up quick and clear shapes. I’m not an animator and I want to use these things as a stepping stone to a good painting, which has made Quill less viable for me for now.
Medium I want to try more later, but when I was just getting into VR, this seemed very expansive and somewhat cumbersome to use comfortably. I Might report back on that later